Creating an element
Introduction
The creation of a new element is the fundamental block for the interaction with the UX. Every ecommerce behaviour can run one or more actions through the interaction with elements. Examples of elements are:
- the button for the add to cart
- the menu item
- the login form
- the address form
- the payment button and so on.
The creatio of a new element
Without any doubt, the creation of an element can be the only technical task since needs a bit of knowledge about how a web browser works. However, no panic! It can be solved with the help of Chrome.
When is the creation of a new element needed?
Using the wizard, creating new flow test, when the "Configuring the behaviors and actions" step is gotten. The configuration of an action needs to specify:
- The type of action
- The association with an element

How to create a new element?
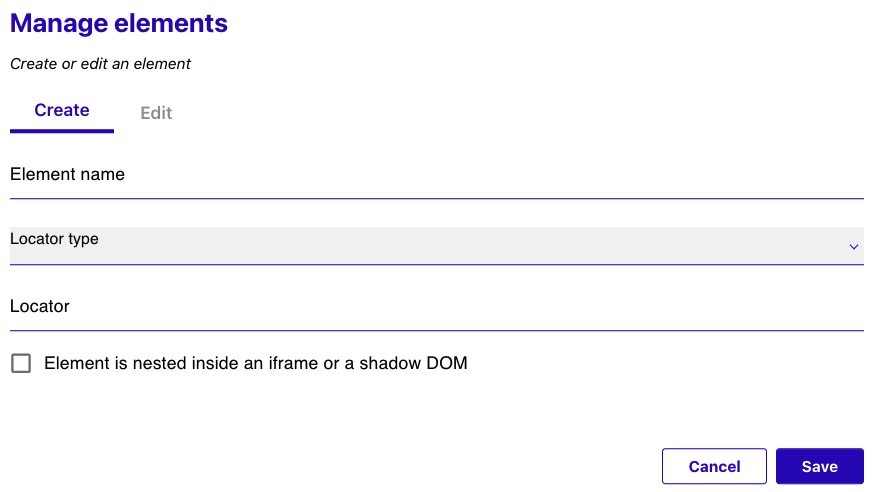
- Click on "Create an element"
- Add the "Element name" you prefer (it should indicate the ecommerce page and what the element supposes to do, for example: "Deskop Product Page Add to Cart")
- Specify the "Locator type" (CSS or XPath)
- Add the "Locator" (see next paragraph)

How to find out the Locator
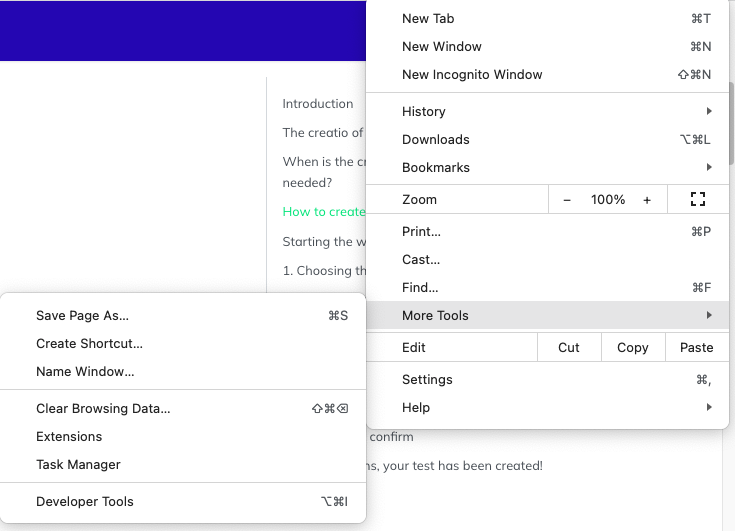
Using Chrome, open the ecommerce and get the page needed. Click on the three dots ("Customise and control Google Chrome") and the end of the toolbar. Than select "More Tools" > "Developer Tools"

Now the browser should show a new panel at the bottom of the window. Select the tab "Elements" and the first icon with a small arrow: "Select an element in the page to inspect it":
Once the inspector button is selected, you can place the mouse over the needed element, for example the add to cart button:

At this point you can finally get the locator selecting the three dots associated to the inspected element and copy the XPath:

You will past the XPath into the "Locator" field in Valido.
Wrap up
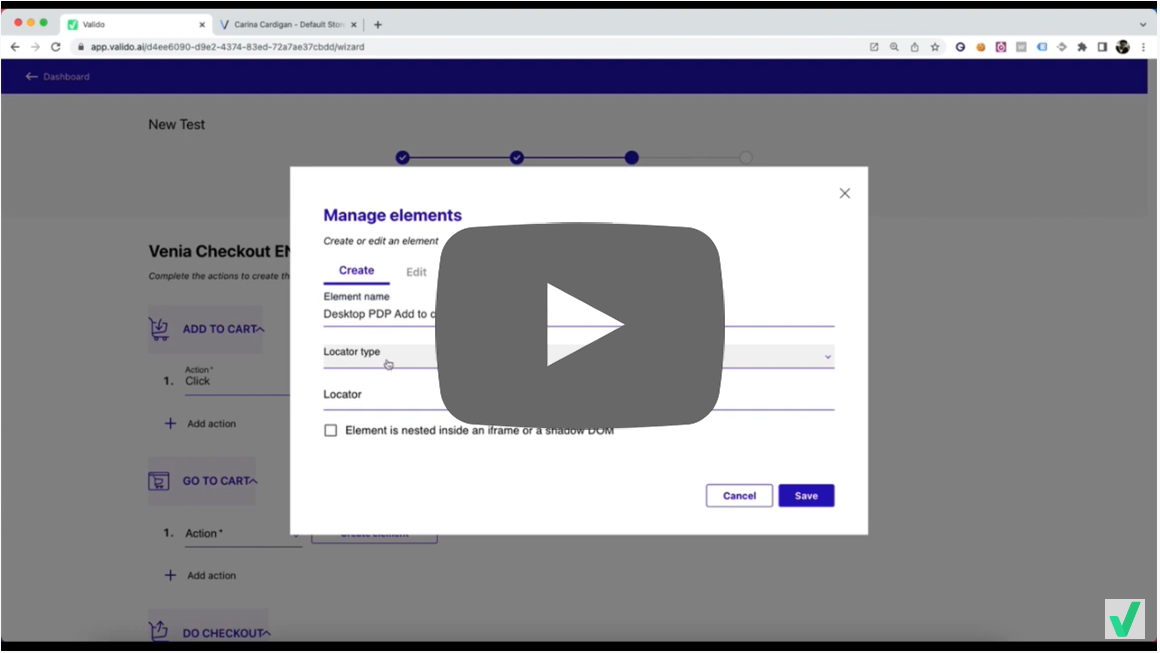
The following video shows the simple creation of a new element associated to the action add to cart:
